Mounting your astronomy binoculars is the single cheapest upgrade you can make to the view — a steady 15×70 reveals 30 to 40 percent more faint stars than the same pair shaking in your hands. Above about 10x, hand tremor smears the image enough to hide exactly the faint detail you bought aperture to see, so for any serious observing a tripod, an L-adapter, or a parallelogram mount turns a frustrating tool into a deep-sky instrument. I learned this the slow way, and I will save you the wasted nights.
Disclosure: some links below are Amazon affiliate links. If you buy through them I may earn a small commission at no extra cost to you. I only recommend gear I would actually use.
This guide covers the three mounting approaches, what each does well, and how to match one to your binocular and your budget. For the optics side of the decision, start with my astronomy binoculars guide; this is the support half that buyers reliably forget to budget for.
Why You Need to Steady Them
Hold a binocular above 10x at a star and you will see it dance with every heartbeat. That motion is not a flaw in the optics — it is your circulatory system, and it blurs faint points below the threshold where your eye can detect them. Steadying the image lets your eye integrate the light, and faint stars, dim galaxy haze, and the granular edges of globular clusters simply appear that were invisible a moment before.
The effect scales with magnification. A 7×50 or 10×50 is usable braced against a wall or a chair; a 12x is borderline; a 15×70 or 20×80 is unusable for real observing without support. The heavier giants add a second problem — arm fatigue — that no amount of willpower overcomes. Mounting solves both at once, which is why every experienced binocular observer owns some form of support.
Option 1: Photo Tripod + L-Adapter
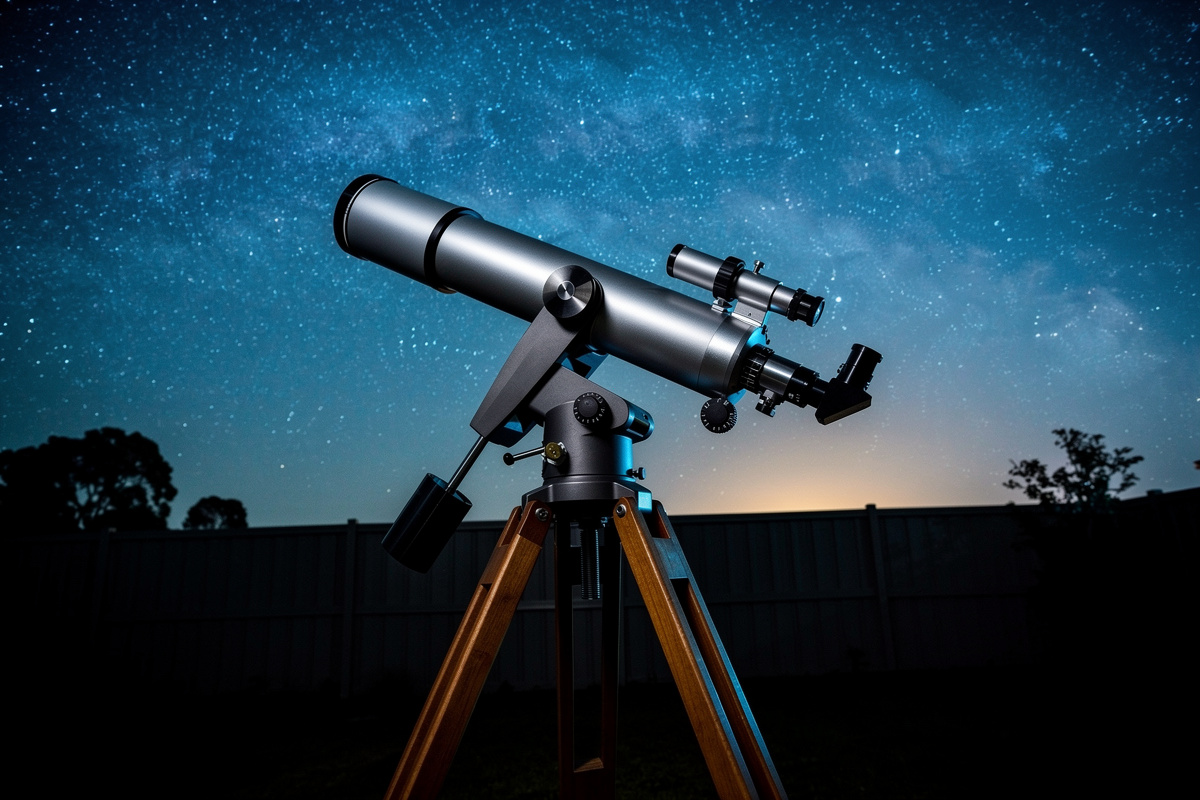
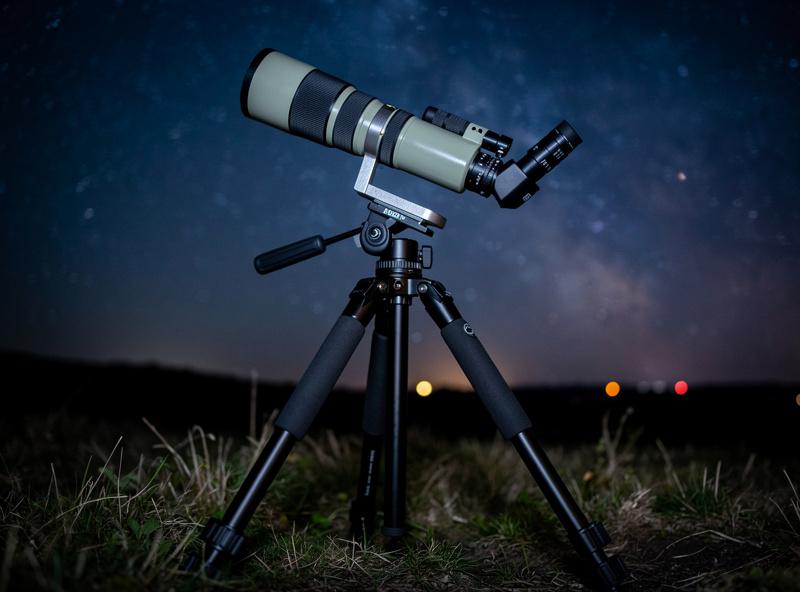
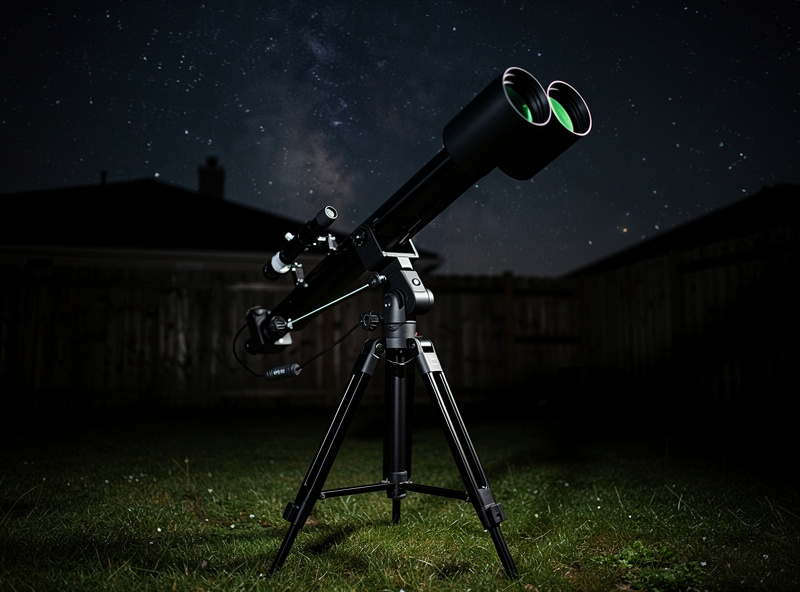
The cheapest and most common solution is a sturdy photo tripod plus a binocular tripod adapter — usually an L-shaped bracket that screws into the threaded socket hidden under the front hinge cap of most astronomy binoculars. This gets a 10×50 or 15×70 rock-steady for a modest outlay, and if you already own a tripod you may only need the adapter. You can find binocular L-adapters on Amazon for very little.
The catch is geometry. A photo tripod points comfortably at the horizon and the mid-sky, but aiming near the zenith forces you into a neck-craning crouch under the eyepieces, which is miserable on a cold night. A tripod also has to be genuinely sturdy — a flimsy travel tripod wobbles in any breeze and defeats the purpose. Buy a heavier tripod than you think you need; the mass is what kills vibration. For lighter pairs and lower targets this is the right answer, and it doubles for daytime use.
Option 2: Parallelogram Mount
The parallelogram mount is the binocular observer’s secret weapon. Its hinged arm lets the binocular move up, down, and around while staying pointed at the same patch of sky, so you can swing it from a standing friend to a seated observer without re-aiming, and reach the zenith comfortably from a reclining chair. For mounted binocular astronomy it is simply the best experience, and it is what I use for my 15×70 and giant pairs.
The trade-offs are cost, bulk, and setup time — a parallelogram is heavier and pricier than a simple adapter, and it is overkill for a handheld 10×50. But for anything 15x and up that you plan to use for real sessions, it transforms the hobby; you can spend an hour at the eyepiece without neck strain, and sharing the view becomes effortless. You can browse parallelogram binocular mounts on Amazon. This is where giant-binocular owners should spend.
Option 3: Monopod and Bracing
Between bare hands and a full tripod sits the monopod — a single leg that takes most of the weight and damps much of the shake while staying quick to reposition. For a 10×50 or 12×60 it is a genuinely good compromise: lighter and faster than a tripod, far steadier than handholding, and it lets you sweep the sky freely. I keep one by the door for grab-and-go sessions where setting up a full mount feels like too much.
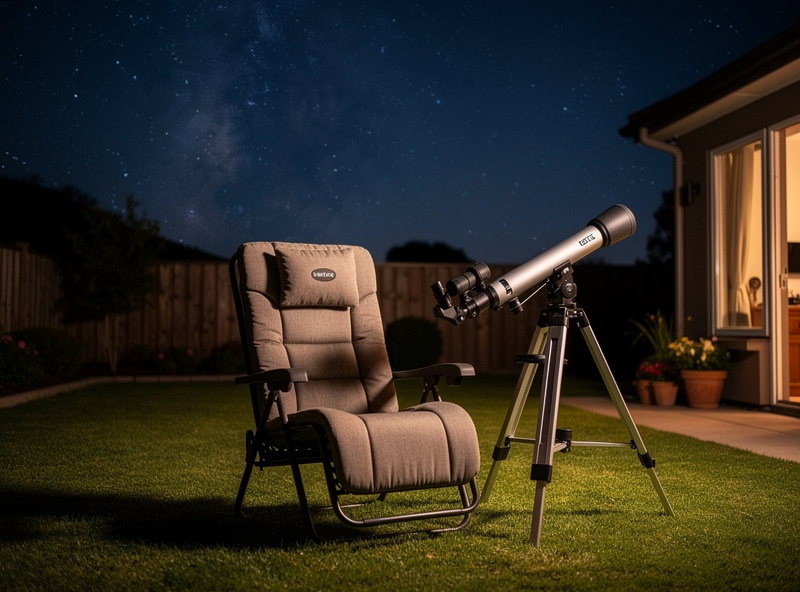
Free bracing techniques matter too. Leaning against a wall, a doorframe, or a car roof, or sitting in a reclining lawn chair with your elbows on the armrests, recovers much of the lost detail at zero cost. A reclining chair in particular is transformative for handheld observing near the zenith — it supports your whole upper body and lets you observe in comfort. Never underestimate how much a chair and a wall do before you spend anything on a mount.
Matching the Mount to Your Binocular
The right support depends almost entirely on magnification and weight. The table below is the decision I walk people through. The pattern is simple: the bigger and higher-powered the binocular, the more mount it demands, and the giants are not optional about it.
| Binocular | Weight | Recommended support | Can skip the mount? |
|---|---|---|---|
| 7×50 / 10×50 | ~0.9 kg | Bracing, monopod, or light tripod | Yes, with bracing |
| 12×60 | ~1.2 kg | Monopod or tripod + L-adapter | Briefly only |
| 15×70 | ~1.4 kg | Sturdy tripod or parallelogram | No |
| 20×80 | ~2.1 kg | Heavy tripod or parallelogram + chair | No |
| 25×100 | ~4 kg | Parallelogram or fork + chair | No |
One sizing note that catches people out: the tripod head and the tripod legs both have to handle the load. A head rated for a light camera will sag under a 20×80, and legs that are fine for a DSLR will vibrate under a heavy binocular in a breeze. When in doubt, go heavier — for astronomy, mass is stability, and stability is faint detail.
Killing Vibration: The Details That Decide Steadiness
A mount that looks solid in the living room can still wobble under the stars, and a few habits make the difference. Spread the tripod legs wide and low rather than fully extended — every centimetre of extension adds leverage for vibration. Hang a weight, even a bag of sand or your camera bag, from the tripod’s centre column hook to add mass low down where it damps the most. And let go: touch the binocular only to aim and focus, then take your hands off and let it settle before you look.
Surface matters too. On a wooden deck, footsteps telegraph straight into the optics, so step lightly or set up on soil or grass. Wind is the enemy of any tall mount; a low parallelogram or a tripod kept short rides it out better. None of this costs anything, and together these habits can make a budget tripod perform like a far heavier one. If you have ever wondered why a friend’s view looked rock-steady and yours shimmered, the answer is usually setup discipline, not gear. For sturdier alternatives, you can compare heavy-duty astronomy tripods on Amazon.
The Overlooked Accessory: An Observing Chair
Whatever mount you choose, comfort decides how long you observe, and how long you observe decides how much you see. A reclining astronomy chair or even an adjustable garden lounger lets you aim near the zenith without bending double, supports your arms for handheld bracing, and keeps you out there long enough for your eyes to fully dark-adapt. The same comfort-beats-spec discipline runs through my telescope accessories guide.
This matters more in a cold climate than warm-weather guides admit. On a sub-zero Nordic night, an uncomfortable observing position drives you indoors long before the sky is done with you. A chair that lets you settle in is, in effect, an optical upgrade — it buys you the dark adaptation and the patience that pull faint targets out of the background.
The same setup-and-tweak discipline that drives me on other benches shows up here: binocular astronomy has the identical trap of optimizing the glamorous thing (the glass) and ignoring the unglamorous thing (the mount and the chair) that actually decides the result. Spend on the support to match the binocular, get comfortable, and the views you were promised finally show up.
Frequently Asked Questions
Do I need a tripod for binocular astronomy?
For 7×50 and 10×50, bracing or a monopod is often enough. For 12x and above, a tripod or parallelogram mount makes a dramatic difference, revealing 30 to 40 percent more faint stars by eliminating hand shake. Giant 20×80 and larger binoculars require a mount.
How do binoculars attach to a tripod?
Most astronomy binoculars have a threaded socket hidden under a cap on the front central hinge. An L-shaped tripod adapter screws into that socket and onto the tripod head, holding the binocular steady. Lightweight roof-prism pairs sometimes lack this socket.
What is a parallelogram binocular mount?
A parallelogram mount uses a hinged arm that lets the binocular move up, down, and around while staying aimed at the same point in the sky. It allows comfortable zenith viewing from a chair and easy sharing, making it the best mount for serious binocular astronomy.
Can you use a camera tripod for astronomy binoculars?
Yes, with an L-adapter, as long as the tripod is sturdy. A flimsy travel tripod wobbles in any breeze and undermines the steadiness you want. The limitation is comfort near the zenith, where a tripod forces an awkward crouch under the eyepieces.
At what magnification do binoculars need a mount?
Around 12x is the practical handheld limit. A 10×50 holds steady braced, 12x is borderline, and 15x and above smear with your pulse. Image-stabilized binoculars are the exception, staying usable handheld up to 15x or more.