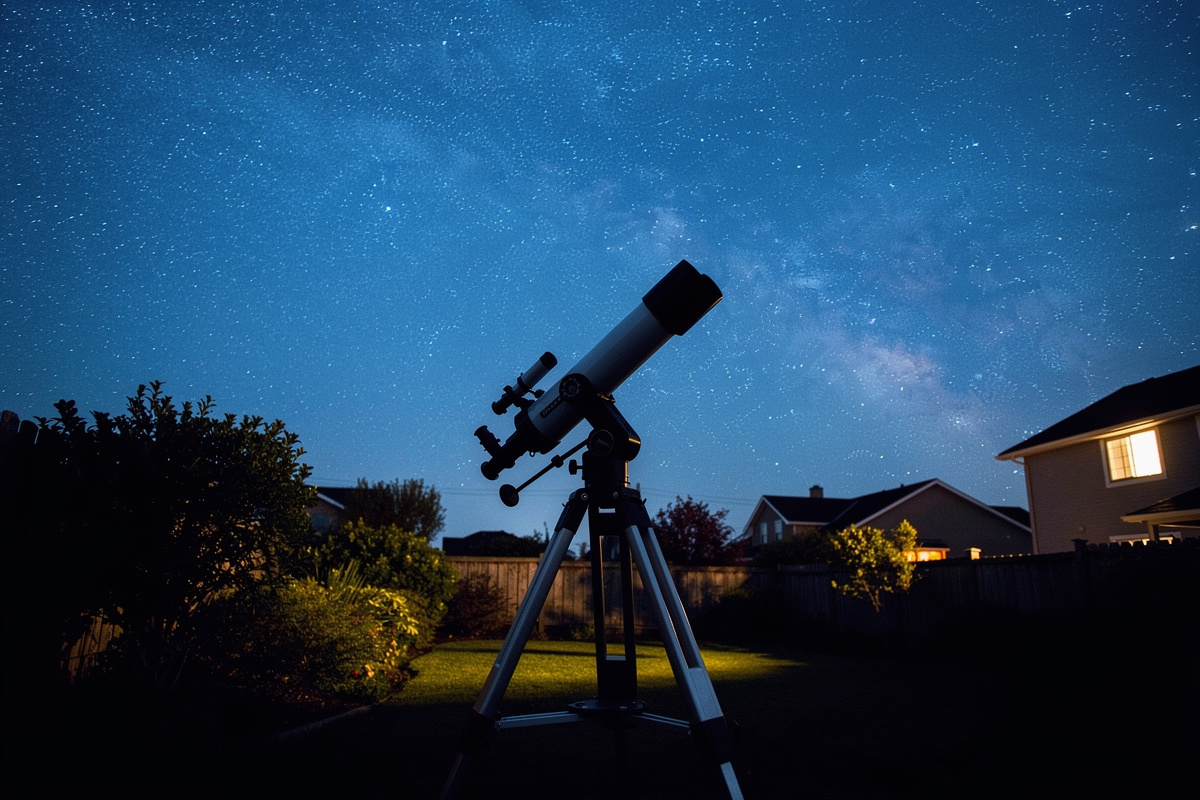
For most beginners, a pair of astronomy binoculars is the smartest first instrument in the hobby — a good 10×50 gathers about 25 times more light than your naked eye, sweeps up dozens of Messier objects, and costs a fraction of any telescope that shows you more. I keep a 10×50 by the back door and reach for it more nights than I reach for the 12-inch Dob, simply because it is already in my hand before the scope has finished cooling down.
This guide is the one I wish someone had handed me before I bought my first scope. I have spent years observing from a light-polluted suburban Swedish backyard and from a properly dark Nordic site, and binoculars have earned a permanent place at both. Below I lay out how to choose a pair, what the aperture and magnification numbers actually mean for the sky, how to hold them steady, and what to point them at first. Every spoke article in this cluster goes deeper on one piece of that decision.
Why Binoculars Beat a First Telescope
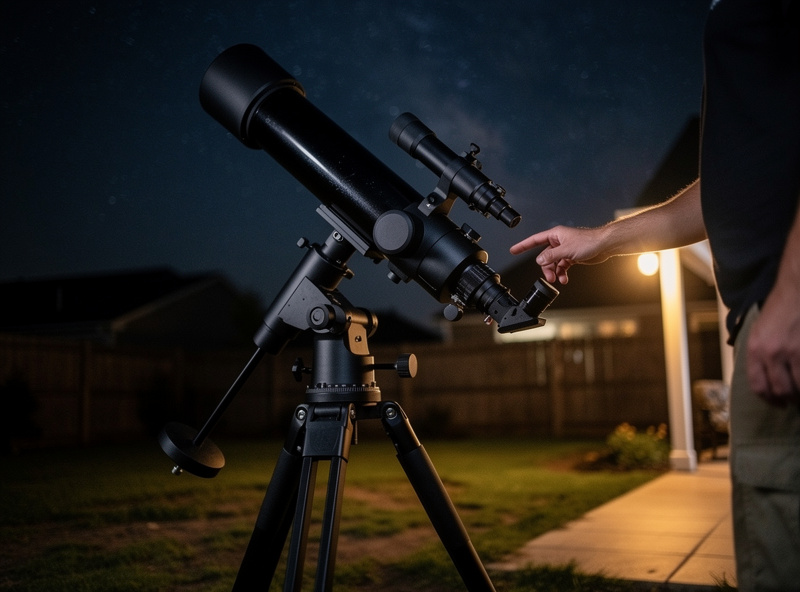
Binoculars win the beginner question because they remove every barrier that makes new telescope owners quit: no assembly, no collimation, no cool-down wait, no finder to align. You walk outside and you are observing in ten seconds. That immediacy is the single biggest predictor of whether someone sticks with astronomy past the first month.
There is a cost argument too, and it is decisive for most people. A genuinely good astronomy binocular costs less than a mediocre telescope, and unlike that telescope it has no hidden second purchase — no eyepieces to buy, no mount to upgrade, no diagonal, no finder. The headline price is close to the real price. A new observer who spends a modest sum on a quality 10×50 ends up with a complete, lifetime instrument; the same money on a telescope often buys a wobbly mount and plastic eyepieces that actively discourage them. I have watched both outcomes play out with friends, and the binocular owners are the ones still observing a year later. I lay out that head-to-head in full in my binoculars vs telescope for beginners comparison.
There is also the two-eye advantage. Using both eyes (binocular vision) is more comfortable for long sessions, pulls fainter detail out of the noise than one eye on a telescope eyepiece, and gives a natural, immersive view of large objects. The Pleiades, the Hyades, the Andromeda Galaxy, the Double Cluster in Perseus — these are better in binoculars than in most telescopes, because the telescope’s narrow field crops them. The wide true field is the whole point, and it is the same reason wide-field eyepieces matter so much, which I cover in the best telescope eyepieces guide.
Reading the Numbers: Aperture, Magnification, Exit Pupil
Every binocular is labeled with two numbers, like 10×50. The first is magnification (10x means objects appear ten times closer). The second is the aperture of each objective lens in millimeters (50mm), which sets how much light the instrument gathers and therefore how faint a star you can reach. For astronomy, aperture matters far more than magnification.
The number that ties them together is exit pupil — aperture divided by magnification. A 10×50 has a 5mm exit pupil; a 7×50 has a generous 7.1mm; a 20×80 drops to 4mm. Your own dark-adapted pupil opens to roughly 5–7mm (less as you age, down toward 4–5mm past fifty), so a 5mm exit pupil is the sweet spot that delivers a bright image without wasting light your eye cannot accept. This is the single most useful concept in the whole hobby and it carries straight over to telescope eyepieces.
Two more numbers are worth knowing. True field of view, usually printed in degrees or as feet-at-1000-yards, tells you how much sky you see at once — a 10×50 typically shows about 6 degrees, twelve full Moons across, which is why it frames big objects so well. And eye relief, the distance your eye can sit from the eyepiece and still see the whole field, matters enormously if you wear glasses: look for 15mm or more and twist-up eyecups so spectacle wearers are not cropped to a tunnel. I would rather give up a little magnification than fight short eye relief on a cold night with watering eyes.
Light grasp is the headline benefit and it is worth making concrete. A 50mm objective has a collecting area roughly 50 times that of a 7mm naked-eye pupil, so a 10×50 reaches stars several magnitudes fainter than you can see unaided — from a dark site that pushes the limit out past magnitude 9 or 10, which is thousands more stars than the naked eye ever shows. Aperture is light, and light is what astronomy is short of.
The Configurations That Actually Work for the Sky
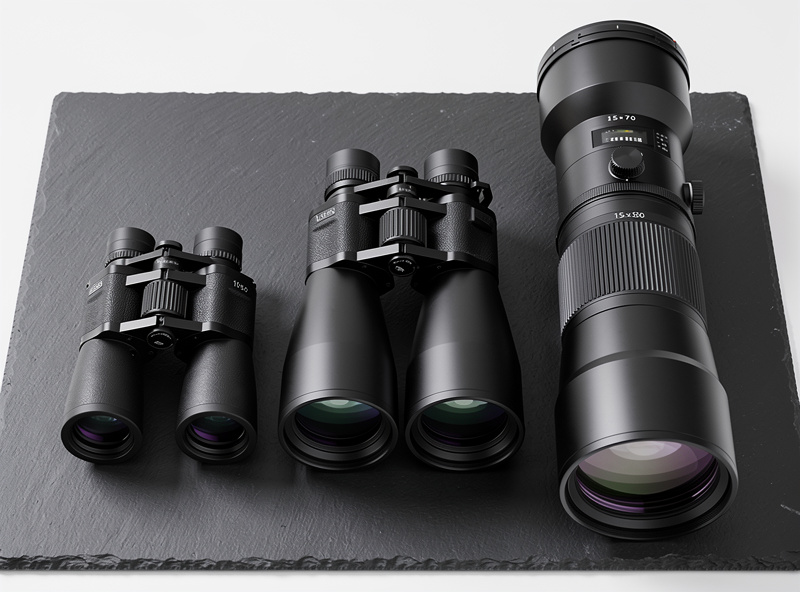
Most astronomy binocular buying collapses into a handful of formats, and each suits a different observer and a different sky. The table below is the decision I walk friends through before they spend a krona, and I put the three classic sizes head to head in my 10×50 vs 15×70 vs 20×80 comparison — the same real-friend, total-cost thinking I bring to the best telescopes for beginners picks.
| Format | Exit pupil | Best for | Handheld? | Weight feel |
|---|---|---|---|---|
| 7×50 | 7.1mm | Wide Milky Way sweeping, dark skies | Yes, easily | Light, ~1.0 kg |
| 10×50 | 5.0mm | All-round best first pair | Yes | Light, ~0.9 kg |
| 12×60 | 5.0mm | A touch more reach, still portable | Borderline | Medium, ~1.2 kg |
| 15×70 | 4.7mm | Faint clusters, comets, transition pair | Briefly only | Heavy, ~1.4 kg |
| 20×80 | 4.0mm | Deep-sky on a mount | No, mount required | Heavy, ~2.1 kg |
| 25×100 | 4.0mm | Dedicated mounted observing | No, mount required | Very heavy, ~4 kg |
The pattern is consistent across my own kit: anything above about 12x stops being a grab-and-go and becomes a small telescope that demands a mount. For ranked model picks at each size, see my best binoculars for astronomy guide; the mount question is its own decision — the same support lesson that defines the telescope mount types guide, where beginners reliably under-spend.
Coatings and Build Quality: Where the Money Actually Goes
Two binoculars with identical 10×50 specs can differ enormously in what they show you, and the difference lives in the coatings. The phrase you want on the box is fully multi-coated — meaning every air-to-glass surface has multiple anti-reflection layers. A fully multi-coated pair transmits roughly 90–95% of the light that enters; a merely “coated” pair can dump 25% or more of it as internal reflection and scatter, which on a faint galaxy is the difference between seeing it and not.
Prism glass matters too. BaK-4 prisms pass light across the full exit pupil and give you that clean round bright circle when you hold the binocular at arm’s length; cheaper BK-7 prisms clip the edges into a squared-off “diamond” and waste aperture. Hold any pair up to a bright background and look at the exit pupils before you buy — a perfect circle means BaK-4, a grey-cornered square means BK-7 and a compromised image. This is the same quality-versus-price reasoning I apply to telescope accessories generally: the coatings and glass you cannot see on a spec sheet are exactly where a good maker spends and a bad one cuts.
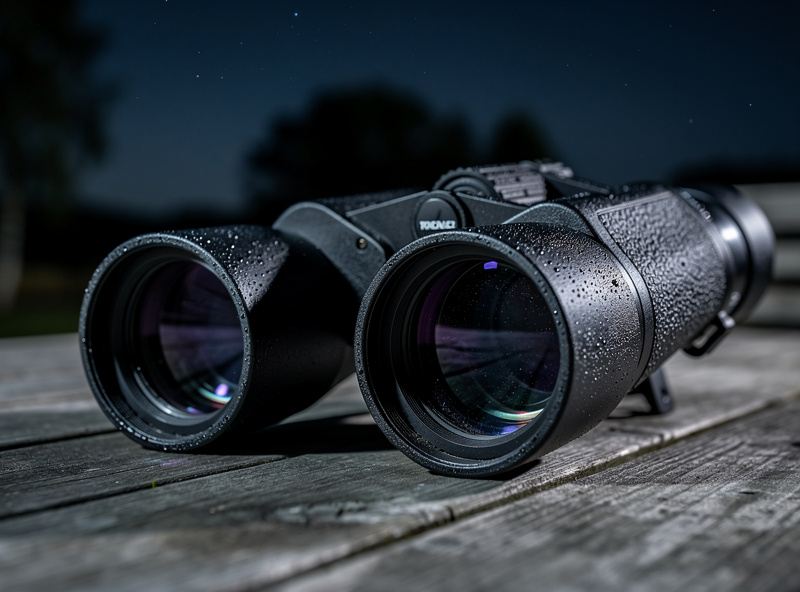
Then there is the mechanical side. Astronomy is hard on optics — cold, dew, and the occasional knock in the dark. Look for a rugged chassis, smooth but firm focus that does not drift, and ideally nitrogen-purged waterproofing so internal fogging and fungus never get a foothold. A pair that holds collimation (both barrels pointing at exactly the same place) is non-negotiable; a miscollimated binocular forces your eyes to fight each other and gives you a headache within minutes. This is the one defect you cannot fix at home on most consumer pairs, so buy from a maker with a real warranty.
Porro vs Roof Prisms for Stargazing
Binoculars use one of two prism designs. Porro prisms have the classic zig-zag shape with offset objectives; roof prisms are the straight, slim tubes. For astronomy on a budget, porro prisms are usually the better buy: they deliver more contrast and brightness per dollar because a good roof-prism pair needs expensive phase coatings and dielectric mirrors to match what a cheap porro does naturally.
Roof prisms are more compact and more weather-sealed, which is why premium birding glass uses them, but the price premium rarely buys you a better star image at the entry and mid levels. My everyday astronomy pair is a porro 10×50 for exactly this reason. Save roof prisms for a daytime/dual-use pair where the slim, sealed body earns its keep.
Holding Them Steady (The Mistake Everyone Makes)
The first time you point handheld binoculars at a star you will be disappointed — it dances and shimmers with every heartbeat. This is not the optics; it is your arms. Above roughly 10x, hand shake smears the image enough to hide the faint detail you bought aperture to see. Steadying the view often reveals 30–40% more faint stars in a cluster, simply because they stop wobbling below the eye’s detection threshold.
You have three ways out. Brace against a wall, a car roof, or a reclining chair. Mount them on a tripod with an L-adapter or a parallelogram arm. Or buy image-stabilized binoculars, which use a gyro or lens-shift system to cancel the shake electronically. For anything 15x and up, plan on a mount from day one, and my binocular mounts and tripods guide covers the parallelogram and tripod options; I treat handheld 15×70 as a quick grab, never a real observing session. Bracing technique is its own small skill, the same one that makes a finder scope usable at the eyepiece.
What to Actually Point Them At
Binoculars excel at large, bright, low-surface-brightness targets that telescopes crop or overpower. Start with the Moon — every crater edge and the terminator line is stunning even at 10x. Then sweep the Milky Way through Sagittarius and Cygnus, where star clouds and dark lanes scroll past like a river. The brighter Messier objects are the real prize, and my ranked Messier object guide doubles as a binocular tour list. For a target-by-target plan built specifically for two eyes, my what to see with binoculars list is the place to start.
From a Bortle 4–6 suburban sky you can reach the Andromeda Galaxy (M31), the Pleiades (M45), the Double Cluster, the Beehive (M44), the Orion Nebula (M42), and the great globular M13 in Hercules. Double stars are an underrated binocular pleasure too — Mizar and Alcor in the Big Dipper split easily, and Albireo’s gold-and-blue pairing in Cygnus is one of the prettiest sights in the sky at any magnification. Under a dark Nordic site that list explodes to dozens, especially the brighter nebulae and the open and globular clusters that binoculars frame so well. The galaxy-hunting guide applies just as much to two eyes as to one.
Binocular Astronomy From a Light-Polluted Backyard
Most readers do not have a dark sky — they have a suburban one, washed grey by streetlights and the orange dome of the nearest town. The good news is that binoculars handle light pollution better than many beginners expect, because their low magnification keeps the background sky from dimming the way a wide-field eyepiece does, and the targets that survive a bright sky are exactly the bright clusters and the Moon that binoculars frame best.
The trick from a compromised sky is target selection, not heroic optics. Open clusters, the brighter globulars, the Moon, the larger asterisms, double stars, and the brightest galaxies and nebulae all punch through Bortle 5–6. Faint extended objects — most galaxies, the fainter nebulae — fade into the murk and need either a darker site or a filter you cannot easily fit to binoculars. Plan around the Moon, too: a bright gibbous Moon washes the sky as badly as a city does, so the dark-of-the-Moon window is when you chase the faint stuff. I use the same moon-phase and transparency planning here that I describe in the dark sky locations guide.
One genuinely useful move is to get away from your own lights. Walking the binoculars to the darkest corner of the garden, away from a porch light and behind the house’s shadow, recovers more than people expect — your eyes dark-adapt, and a 20-minute adaptation makes faint targets pop that were invisible the moment you stepped outside. Binoculars are uniquely good at this because they are trivially portable; you can chase a gap in the trees in a way you never would with a telescope on a mount.
The Northern-Latitude Reality
I observe from high in Sweden, and binocular astronomy at northern latitudes has its own rhythm that the US and UK guides never mention. In high summer there is no true astronomical darkness for weeks — the sky never fully blackens, and binoculars become a tool for the bright stuff: the Moon, double stars, and noctilucent clouds glowing silver-blue along the northern horizon after midnight. It is a frustrating season for deep-sky, and binoculars are honestly the right instrument for it because the targets that work are the bright ones anyway.
Winter is the reward. The nights are long, brutally cold, and gloriously dark, and a 10×50 under a transparent winter sky from a dark Nordic site shows the winter Milky Way through Auriga and the Double Cluster with a clarity that makes the summer frustration worth it. The aurora is part of the calculus too — on an active night I put the binoculars down and just watch. The cold demands the thermal-acclimation and dew discipline I cover below, but the trade is worth it: binoculars are the instrument I most often carry out into a sub-zero night precisely because they set up in seconds and there is no mount to freeze.
When to Go Bigger: Giant Binoculars
If binoculars stick for you, the temptation to go big is real. Giant binoculars — 20×80, 25×100, even 30×125 — turn the format into a genuine deep-sky instrument that splits some globulars and shows galaxy shape, which I cover in depth in my giant binoculars for astronomy guide. The catch is that every one of them requires a serious mount, and the heavy ones need a parallelogram or a dedicated binocular fork to point near the zenith without breaking your neck.
I treat giants as a complement to a telescope, not a replacement: the wide, two-eyed, upright view they give of a star field is something no single-eyepiece scope reproduces. If that pull is strong, the mount and the chair matter as much as the glass — the same trap I warn about in the Dobsonian value guide, where aperture is cheap but comfortable observing is not.
The Real Cost of Ownership
A binocular purchase is rarely just the binocular. A handheld 10×50 from a reputable optics maker is genuinely complete out of the box, which is its great virtue. But the moment you go above 12x you are also buying a tripod and an L-adapter, or a parallelogram mount, and likely a comfortable reclining chair so you can observe near the zenith without strain.
Budget honestly. A 10×50 plus a strap and a lens cloth gets you observing for the price of a cheap eyepiece. A 25×100 plus the heavy-duty mount and chair it demands can rival the cost of a small telescope. This total-cost framing is the same discipline I apply to scopes in the telescope buying guide and the accessories guide — the headline item is never the whole bill.
What to Avoid: The Traps That Catch New Buyers
The binocular market is full of products engineered to look impressive on a shelf and disappoint under the stars. The biggest trap is the zoom binocular — something labeled 10-30×60. Variable magnification sounds versatile, but the zoom mechanism murders the optical quality, narrows the field to a keyhole at the high end, and is impossible to hold steady where it matters. No serious observer uses one. Buy a fixed magnification.
The second trap is chasing magnification numbers. A box screaming “30x” or “144x” (yes, they exist) is selling you a number, not a view; at those powers handheld the image is an unusable blur and the exit pupil is a pinhole. Astronomy rewards aperture and quality, not the biggest first number. The third trap is ruby-coated or “night vision” lenses — the red coating is a marketing gimmick that actually blocks light, the opposite of what you want for the night sky.
Finally, be wary of the no-name brands that clone a respected model’s spec sheet at a third of the price. The specs are not the binocular; the coatings, the prism glass, the collimation, and the quality control are, and those are exactly what the clone skips. The same discipline that keeps people from buying a hollow “department-store telescope” applies here — I lay that reasoning out in the telescope buying guide, and it transfers directly.
Caring for Binoculars in a Cold Climate
Optics and cold nights are a fussy combination, and I learned this the hard way through Nordic winters. Let your binoculars cool to the outside air before you start, the same thermal-acclimation discipline a telescope needs, or warm air inside the tubes will blur everything. When you come back indoors, do not wipe the dew off — let the fogging clear naturally in a case or a bag, because warm room moisture condensing on cold glass is how fungus starts.
Keep a microfiber cloth and a blower for the lenses, never your shirt. Store them dry with the caps on and a desiccant pack in the case. A decent pair treated this way lasts decades; my oldest porros still hold collimation and show the same crisp Pleiades they did when I bought them.
Frequently Asked Questions
What size binoculars are best for astronomy?
A 10×50 is the best all-round starting size. It gathers about 25 times more light than the naked eye, has an ideal 5mm exit pupil, and stays light enough to hold by hand. Go to 15×70 only if you add a mount.
Can you see galaxies with binoculars?
Yes. The Andromeda Galaxy (M31) is easy in 10×50 binoculars even from a suburban sky, appearing as a bright oval smudge. From a dark site you can spot several more galaxies, though they show as faint glows rather than detailed structure.
Do I need a tripod for astronomy binoculars?
For 7×50 and 10×50, no, though bracing helps. For anything 12x and above, a tripod or parallelogram mount makes a dramatic difference, revealing 30 to 40 percent more faint stars by eliminating hand shake. Giant 20×80 and 25×100 binoculars require a mount.
Are porro or roof prism binoculars better for stargazing?
Porro prisms give more brightness and contrast per dollar, making them the better astronomy buy at entry and mid price levels. Roof prisms are more compact and sealed but need expensive coatings to match a porro’s star image, so they suit dual-use daytime pairs.
What magnification is too high to hold by hand?
Above about 10x, hand shake noticeably smears the image. At 12x it is borderline, and at 15x or higher you need support for any real observing. Image-stabilized binoculars are the exception, staying steady handheld up to 15x or more.
Are binoculars or a telescope better for a beginner?
Binoculars are usually the better first instrument. They need no setup, cost far less for the views they give, and excel on large objects like the Pleiades and Andromeda. A telescope wins later for planets, the Moon at high power, and faint deep-sky detail.