“What magnification do I need for planets?” is the question I get more than any other, and the honest answer frustrates people: it depends on the night. There is no single magic number, because the best magnification for planets is a moving target set by three things — your telescope’s aperture, the focal length of your eyepiece, and the atmospheric seeing on a given evening. Get the relationship between those three straight and you’ll stop chasing the biggest number on the box and start getting the sharpest possible view of Jupiter, Saturn, and Mars. Get it wrong and you’ll spend money on “600x!” eyepiece kits that deliver nothing but a bigger, dimmer blur.
This guide unpacks how magnification actually works on the planets, the rules of thumb I use at the eyepiece, and why the sky usually has the final say. It’s a core piece of the planetary observing guide that anchors this cluster, and it’s the lesson that ties together my Jupiter and Saturn technique — once you’ve internalised it, both observing Jupiter and seeing Saturn’s rings get dramatically easier.
How magnification is actually calculated
Magnification isn’t a property of the eyepiece alone — it’s the telescope’s focal length divided by the eyepiece’s focal length. A scope with a 1500mm focal length and a 10mm eyepiece gives 150x; swap to a 5mm eyepiece and you get 300x. That’s it. The same eyepiece gives wildly different magnifications in different scopes, which is exactly why a “10mm eyepiece” recommendation out of context is meaningless.
This is also why a Barlow lens is so useful: a 2x Barlow effectively doubles every eyepiece’s magnification, so a single mid-focal-length eyepiece becomes two useful powers. Rather than buying ever-shorter (and less comfortable) eyepieces to reach high power, I’d rather pair good glass with a quality Barlow.
The maximum useful magnification rule
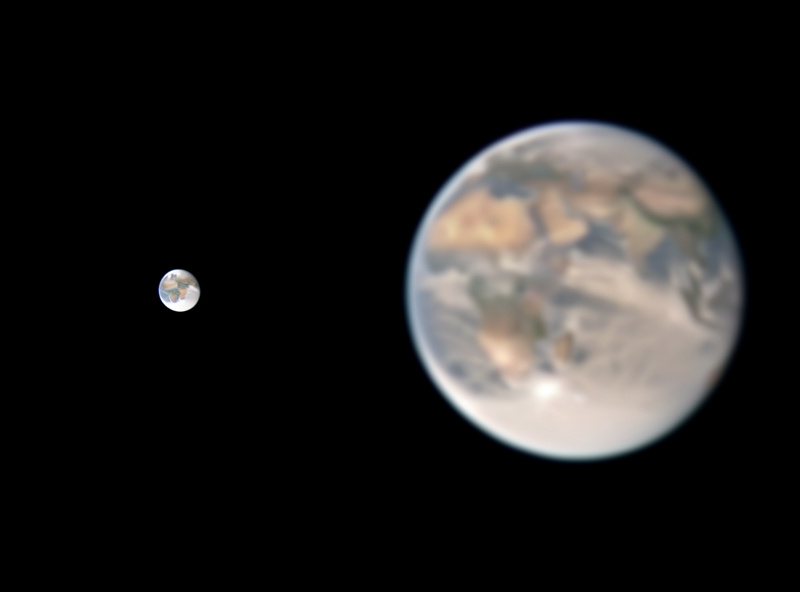
The classic rule of thumb is a maximum useful magnification of about 50x per inch of aperture (roughly 2x per millimetre). So a 4-inch (100mm) scope tops out around 200x; an 8-inch (200mm) around 400x. Above that ceiling the optics simply can’t resolve any more real detail — you’re just enlarging the same blur, which is why it’s called “empty magnification.”
But — and this is the part the box copy never tells you — you almost never get to use that theoretical ceiling, because the atmosphere blurs the image long before the optics run out. On a typical night, the seeing caps planetary detail somewhere around 150x to 200x regardless of how big your scope is. Only on the rare, exceptionally steady nights do the bigger apertures get to flex their full resolving power. That 400x on an 8-inch is real on paper and almost never reachable in practice.
This gap between theory and reality is even wider from a high northern latitude, where I do most of my observing. The planets often ride low across the southern sky, and looking through that thick, turbulent slab of horizon air shaves your usable magnification hard. There are whole stretches of the year when 120x is the honest ceiling on a planet that, were it overhead in steady air, would happily take 250x. The lesson holds everywhere but it’s brutal up north: the sky, not the spec sheet, decides your magnification, and the smart observer reads the air rather than the box.
Exit pupil: the number that keeps the image bright
The flip side of magnification is the exit pupil — the diameter of the cone of light leaving the eyepiece, which equals aperture divided by magnification. As you crank the power, the exit pupil shrinks and the image dims. For planets that’s usually fine because the planets are bright, but push the exit pupil too small (below about 0.5mm) and you start to see floaters in your own eye and the view goes dim and mushy. Keeping an eye on exit pupil is a sanity check: if you’ve pushed the magnification so high that the exit pupil is tiny and the image is dim, you’ve gone too far.
Magnification and exit pupil at a glance
Here’s a working reference for a typical mid-aperture scope, showing how magnification, exit pupil, and the practical verdict relate. Exit pupil here assumes a 200mm (8-inch) aperture as an example.
| Magnification | Exit pupil (8-inch) | Typical use on planets | Verdict |
|---|---|---|---|
| 50x | 4.0mm | Finding and centring the planet | Too low for detail, great for acquisition |
| 100x | 2.0mm | Poor-to-average seeing nights | Reliable, often the realistic ceiling |
| 150x | 1.3mm | Good seeing — belts, rings, Cassini | The planetary sweet spot most nights |
| 200x | 1.0mm | Steady nights, fine detail | Excellent when the air cooperates |
| 300x | 0.67mm | Exceptional seeing only | Rarely usable; image dims |
| 400x | 0.5mm | Theoretical max for 8-inch | Almost never reachable in practice |
So what’s the best magnification for planets?
The practical answer, from years at the eyepiece: aim for the 150x–250x range as your target, but let the seeing pull you back as needed. Most nights you’ll settle somewhere between 100x and 180x; on the rare gem of a night you’ll push to 250x or beyond. The method matters more than the number:
- Find and centre the planet at low power (around 50x).
- Step up one eyepiece at a time, pausing at each to let your eye assess the view.
- The moment the image stops getting sharper and just gets bigger and dimmer, you’ve passed the seeing ceiling.
- Drop back one step to the last crisp view and stay there.
This “climb until it softens, then step back” routine is the single most useful habit in planetary observing, and it adapts automatically to whatever the sky gives you on the night.
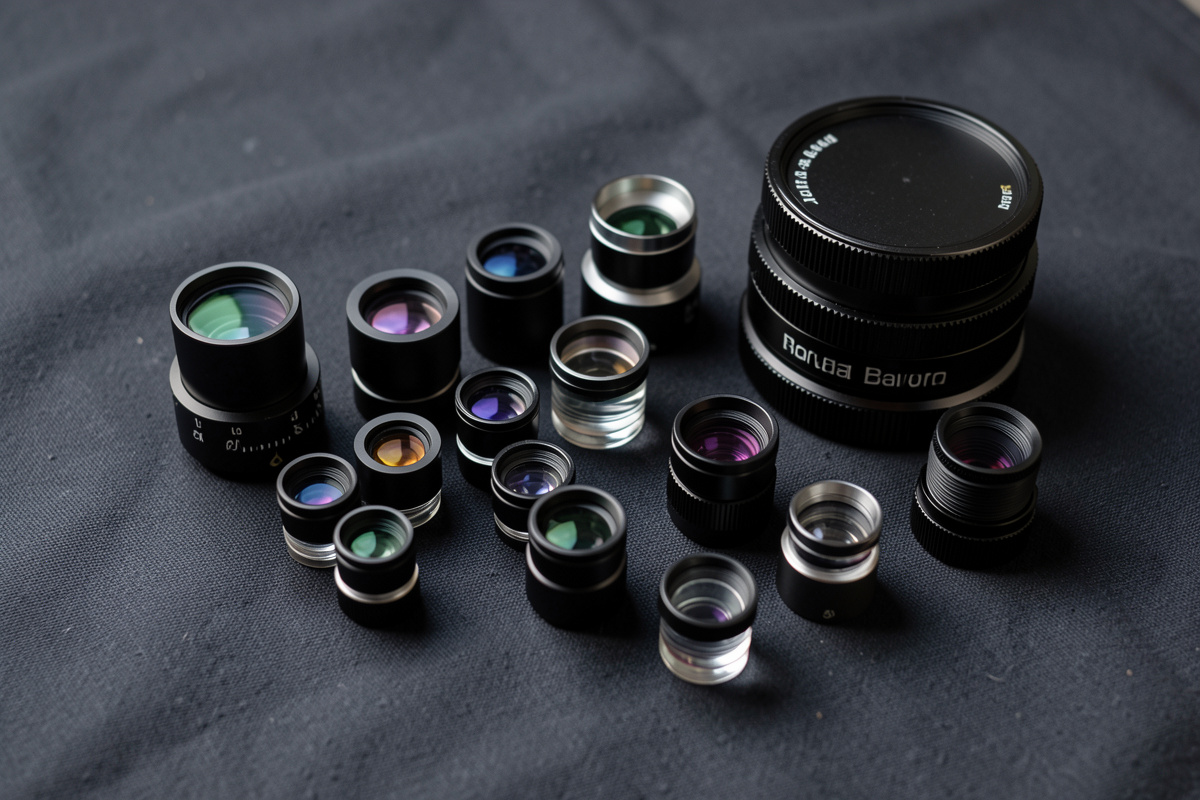
Building a planetary magnification kit
You don’t need many eyepieces — you need the right few to land you in that 100x–250x window for your scope, plus a Barlow to extend them. For most setups that means a mid-focal-length eyepiece, a shorter one, and a good 2x Barlow lens to double both without sacrificing eye relief. A well-made planetary zoom eyepiece is another approach I like for planets specifically — it lets you dial the magnification continuously to exactly the seeing limit on the night rather than swapping fixed eyepieces, which is genuinely handy when the air is shifting. For the full eyepiece-selection reasoning, see the best telescope eyepieces guide, and for Barlow specifics the Barlow lens guide.
Disclosure: some links above are affiliate links. As an Amazon Associate I earn from qualifying purchases, at no extra cost to you. I only recommend gear I’d use at my own eyepiece.
One last thing worth more than any eyepiece: a steady mount. All this magnification talk is academic if the planet trembles every time you breathe on the focuser. The other lever for getting the most out of your top magnification is the right filter — my eyepiece filters for planets guide covers which coloured filters lift which features on each planet. At 200x a shaky mount turns the finest view into a wobbling mess, so spend there before you spend on exotic glass — the mount types guide explains why.
What is the best magnification for viewing planets?
Aim for the 150x–250x range as a target, but let the seeing pull you back. Most nights the atmosphere limits useful detail to 100x–180x, with higher powers only paying off on exceptionally steady nights. Climb the magnification until the image softens, then step back one notch to the last sharp view.
How do I calculate magnification?
Divide your telescope’s focal length by the eyepiece’s focal length. A 1500mm scope with a 10mm eyepiece gives 150x. A 2x Barlow lens doubles the result, so the same 10mm eyepiece would give 300x with a Barlow in place.
What is the maximum useful magnification of a telescope?
About 50x per inch of aperture (2x per millimetre) — so 200x for a 4-inch scope, 400x for an 8-inch. Above that you get empty magnification: a bigger but no sharper image. In practice the atmosphere usually caps you well below this theoretical limit.
Why does my planet look worse at higher magnification?
You’ve likely passed the seeing limit for the night. Beyond the magnification the atmosphere can support, the image just gets bigger, dimmer, and blurrier rather than revealing more detail. A warm, un-cooled scope makes this worse. Back off to the last sharp magnification.
What is exit pupil and why does it matter?
Exit pupil is the diameter of the light cone leaving the eyepiece — aperture divided by magnification. As you increase magnification it shrinks and the image dims. For planets a small exit pupil is usually fine, but below about 0.5mm the view goes dim and floaters become distracting, a sign you’ve over-magnified.
Is a zoom eyepiece good for planets?
A quality planetary zoom is genuinely useful because it lets you dial the magnification continuously to exactly the seeing limit on the night, rather than swapping fixed eyepieces. The trade-off is a slightly narrower field of view than a premium fixed eyepiece, which matters little on a small, centred planet.