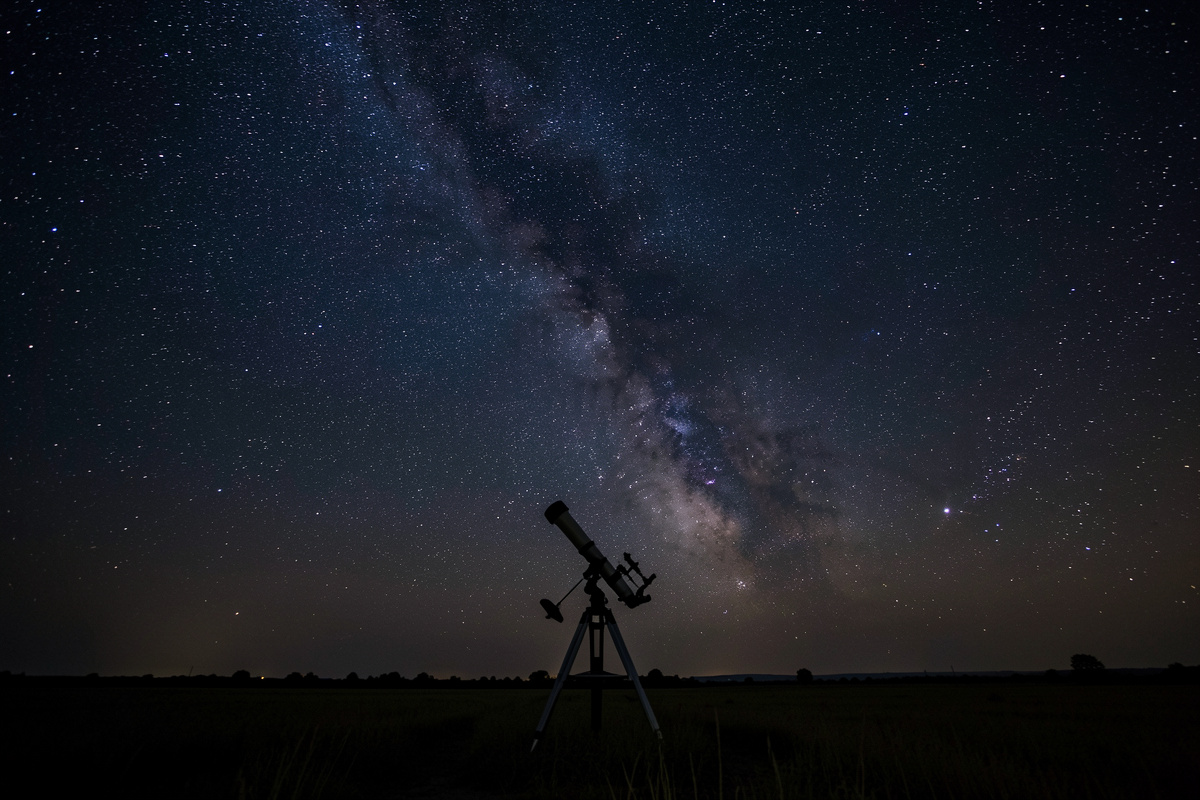
Planning a deep sky observation session is the difference between a night where you bag a dozen galaxies and one where you fumble in the cold finding nothing. The objects are faint, the window is short, and the sky won’t wait — so the work happens at the kitchen table before you carry anything outside. A good deep-sky plan answers what’s well-placed tonight, in what order to hunt it, and whether the sky will even cooperate. After years of doing this from a Bortle 4-6 backyard and a darker Nordic site, here’s the exact planning workflow I use to make faint nights productive instead of frustrating.
This spoke lives inside my astronomy apps and planning guide, which lays out the full tool stack. Here I’m walking the actual session-planning process step by step — the thing that turns the tools into results.
Why deep-sky observing needs a plan more than anything else
Planetary observing forgives improvisation — the planets are bright and you can wander to them. Deep-sky observing does not. Galaxies and faint nebulae demand dark adaptation, a moonless sky, good transparency, and a target list ordered so you’re not slewing across the whole sky chasing objects as they set. Walk outside without a plan and you’ll waste the best dark hour deciding what to look at, then watch your target sink into the horizon murk while you fiddle.
The plan is also what protects the scarce resource: dark, clear, moonless nights. From a high latitude those are genuinely rare — the summer gives no true darkness for weeks, and clear winter nights are precious and cold. When one arrives, a ready plan means you spend the whole window observing, not deciding. That’s the entire payoff of planning: more eyepiece time, less standing-around time.
Step one: check the Moon and the calendar
Deep-sky observing starts with the Moon, because moonlight is the enemy of faint objects. A bright Moon washes the sky grey and drowns galaxies and nebulae regardless of how good your scope or sky is. The first question of any deep-sky plan is “is the Moon out of the way” — ideally a new-Moon week, or a night where the Moon sets early or rises late. Plan your serious faint-object sessions around the dark-of-the-Moon window and use the bright nights for the Moon and planets instead.
Then check whether the targets you want are even in season. The sky rotates through the year; a galaxy that’s overhead in spring is below the horizon in autumn. A planetarium app makes this trivial — scrub the date and time and see what’s well-placed. From a high latitude this matters doubly, because the no-darkness summer window simply removes deep-sky observing for weeks at a time, and you plan around it.
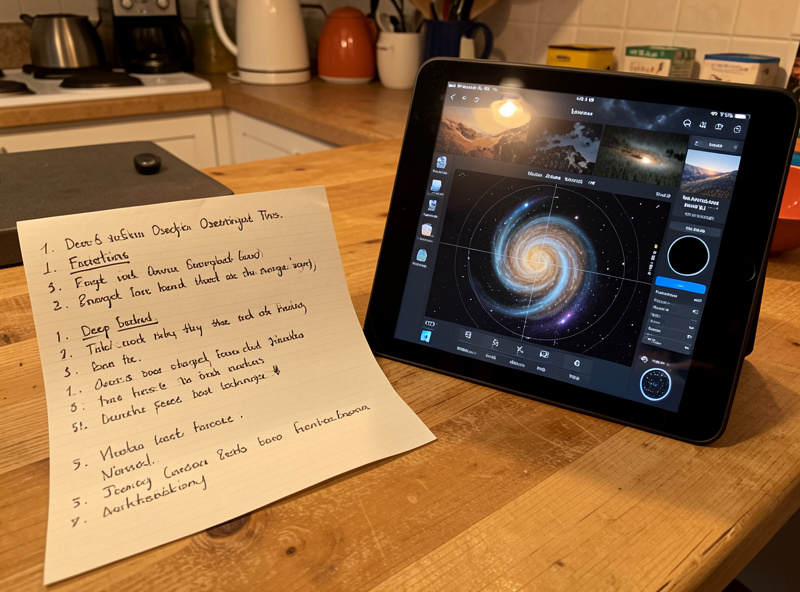
Step two: build a target list in rising order
This is the core of the plan. Open the planetarium app, set it to your location and the night you’re observing, and pick objects that will be well-placed — high enough to clear the horizon haze — during your dark window. The crucial trick is to order the list by when each object is best positioned: hunt western targets first before they set, save eastern and overhead targets for later as they climb. A list ordered this way means you’re never racing a setting object or waiting on one that hasn’t risen.
Keep the list realistic. Eight to twelve objects is a productive night for most observers; a list of forty just means frustration. Mix difficulty too — a couple of showpiece objects to enjoy, a couple of faint challenges to push your skill. Note the magnitude and size of each so you know what eyepiece and what expectation to bring. For target ideas to populate the list, the deep-sky object guide and the best nebulae and best star clusters guides are good menus.
Step three: gate the night on the weather
The last planning gate is the sky itself, and ordinary forecasts ask the wrong question. For deep-sky work you care about transparency above all — high haze and thin cloud that dim faint objects — far more than the seeing that matters for planets. Check an astronomy-specific weather model for transparency and hour-by-hour cloud at your site, and make the honest go/no-go call. A transparent, dark, moonless night is gold; a hazy one will waste your whole faint-object list no matter how well you planned it.
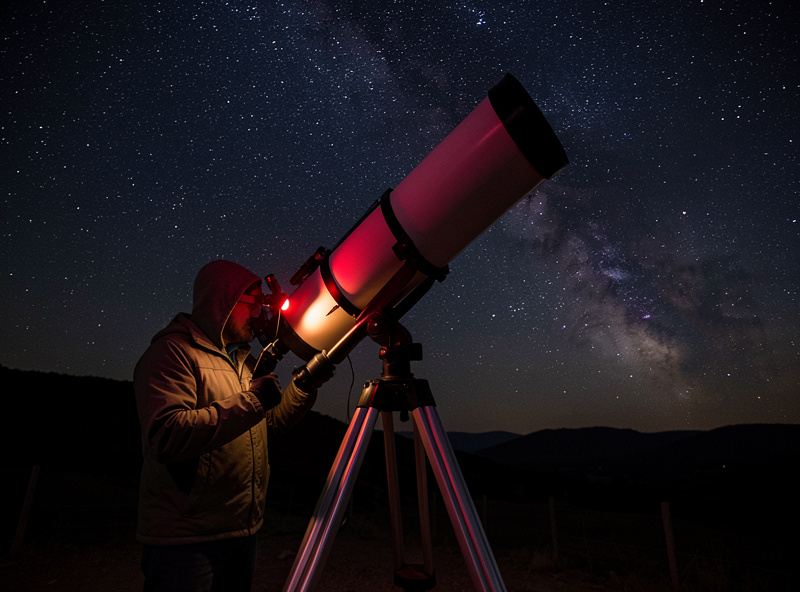
If it’s a go, do the final prep: pull the atlas pages or finder charts for your targets, set out the eyepieces, and let the scope start cooling to ambient. Then dress for the cold — a Nordic deep-sky night is a long, still, freezing affair, and being miserable ends sessions early. The plan got you to the eyepiece with a list, a chart, and a sky that will deliver. That’s the whole job.
Working the plan at the scope
Outside, run the list off paper under a dim red light, star-hopping or slewing to each target in order. Give faint objects time — averted vision and a few minutes of patience pull out detail that a glance misses. Tick each object off as you bag it, and jot a quick note on what you saw and the conditions; that record is what makes the next plan smarter. The discipline of working a planned list, rather than wandering, is what separates observers who steadily see more from those who own a nice scope and still struggle to find things.
When the list is done and the sky’s still good, that’s the time to improvise — chase something off-plan, push to a fainter challenge. But the plan carried you through the productive core of the night first. That ordering — structure first, improvisation second — is the same instinct I bring to every build-and-tweak hobby: get the system working, then play at the edges.
Frequently Asked Questions
What is the most important factor in planning a deep-sky session?
The Moon. Moonlight washes out faint galaxies and nebulae regardless of your scope or sky, so serious deep-sky observing is planned around the dark-of-the-Moon window — a new-Moon week or a night where the Moon sets early or rises late.
How many objects should be on a deep-sky target list?
Eight to twelve is a productive, realistic night for most observers. A much longer list just leads to frustration and rushing. Order the list by when each object is best placed so you hunt setting targets first and rising ones later.
What weather matters most for deep-sky observing?
Transparency — the amount of high haze and thin cloud dimming faint light — matters most for deep-sky work, more than the atmospheric steadiness (seeing) that drives planetary detail. Check an astronomy-specific forecast for transparency and hour-by-hour cloud, not a generic rain forecast.
How do I order a deep-sky target list?
By altitude over the night. Put western objects first so you catch them before they set, and save eastern and overhead targets for later as they climb. A planetarium app scrubbed to your night and location shows exactly when each object is best placed.
Why does high latitude change deep-sky planning?
Near the summer solstice, high northern latitudes get no true astronomical darkness for weeks, removing deep-sky observing entirely during that window. Clear, dark winter nights are scarce and cold, so a ready plan ensures you use the whole window when one arrives.