Most beginners spend their entire budget on a telescope and not one krona on the thing that decides whether they ever find anything: the planning layer. A star atlas, a good planetarium app, and a weather model you trust are what turn “I pointed it roughly over there and saw nothing” into a session where you bag a dozen objects and come inside grinning. I have run this hobby from a Bortle 4-6 Swedish backyard and a darker Nordic site for years, and the single biggest jump in my own hit-rate came not from a bigger mirror but from learning to plan the night before I carried anything outside. This guide is the whole software-and-paper stack I actually use — the apps, the charts, the weather tools, and the logbook — laid out the way I’d explain it to a friend who just bought their first scope.
The planning layer is also the cheapest upgrade in astronomy. A free copy of Stellarium and a 5 SEK notebook will improve your observing more than a new eyepiece will, because most wasted nights are not wasted on bad optics — they are wasted on not knowing what’s up, where it is, and whether the sky will even cooperate. This is the same setup-and-tweak discipline I bring to every hobby I touch: the gear is only half the system, and the half people ignore is usually the half that’s holding them back.
Why the planning layer matters more than the next eyepiece
Here is the uncomfortable truth I learned the slow way: a modest 6-inch scope in the hands of someone who planned the night will out-observe a 12-inch in the hands of someone who walked outside and started waving it at the sky. Planning decides what you find. Optics only decide how good it looks once you’ve found it. The planning layer is the cheap, unsexy half of the system, and it is where new observers under-invest the most.
A good plan answers three questions before you carry anything outside. What is genuinely visible from my latitude and my sky tonight? Where exactly is it, so I can star-hop or slew to it? And will the weather actually let me see it — not the daytime forecast, but transparency, seeing, and cloud at my specific hour? Get those three right and the gear almost doesn’t matter. Get them wrong and a five-thousand-euro rig shows you the inside of a cloud.
The four parts of an observing toolkit
Every planning workflow I have ever settled into breaks down into four tools that do four different jobs. Beginners try to make one app do all four and end up frustrated. Treat them as separate roles and the whole thing gets simple.
- The planetarium app — your sky simulator. It shows what’s up right now, lets you scrub time forward, and tells you when your target clears the trees. Stellarium, SkySafari, and the free phone apps live here. This is your planning brain.
- The printed atlas — your at-the-eyepiece reference. Phone screens wreck dark adaptation and freeze in winter; a laminated chart under a red light does not. A serious visual observer keeps both.
- The weather model — your go/no-go call. A generic weather app tells you about rain. An astronomy weather tool tells you about transparency, seeing, and the jet stream, which is what actually decides the night.
- The observing log — your memory and your progress record. The notebook where you write what you saw, under what conditions, so next time you know the object is real and findable.
Get one tool for each role, learn it properly, and you have a planning workflow most amateurs never build. The rest of this guide walks each role in turn, and I’ve written deeper companion pieces on the ones that deserve their own thousand words.
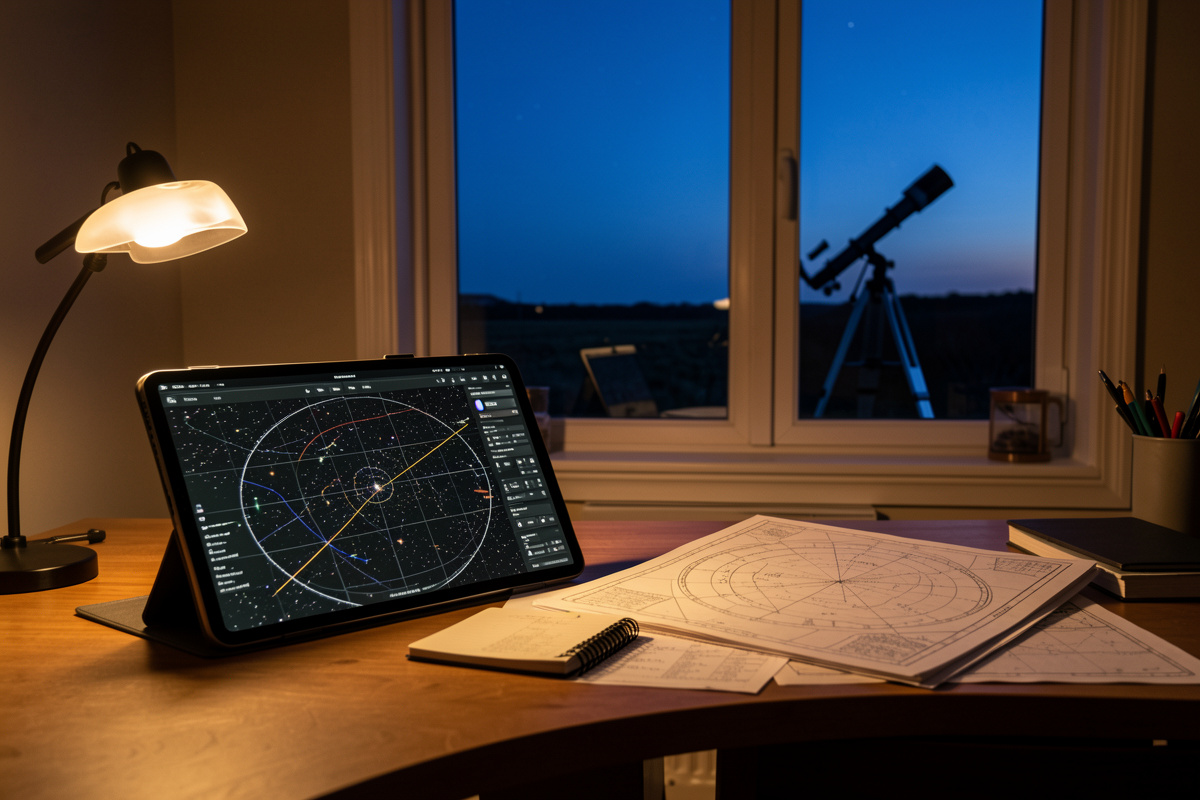
Planetarium apps: the planning brain
A planetarium app is a sky simulator on your phone, tablet, or laptop. It renders the sky for your exact location and time, lets you scroll forward to see when a galaxy rises above your neighbour’s roofline, and — paired with a GoTo mount — can slew the scope straight to a target. This is where I start every plan: open the app the afternoon before, pick a handful of objects that will actually be well-placed, and note the order to hit them in.
The free phone apps (the point-it-at-the-sky augmented-reality type) are genuinely useful for learning constellations and settling “what’s that bright star” arguments. But for real session planning you want a proper planetarium: Stellarium on the desktop (free, and frankly extraordinary for the price of nothing) or SkySafari on mobile (paid tiers, but the field-ready interface and telescope control are worth it). The two overlap heavily and the choice trips up a lot of buyers, which is why the Stellarium versus SkySafari question deserves its own breakdown rather than a one-liner here.
One thing the apps will not do is care about your latitude the way you must. From my Nordic site, half the “great summer targets” American reviewers rave about never clear the horizon murk, and for weeks around the solstice there is no astronomical darkness at all. The app shows you the geometry; you supply the judgement about whether low-altitude haze and twilight will let you actually see it. That judgement is the difference between a planned target list and a wish list.
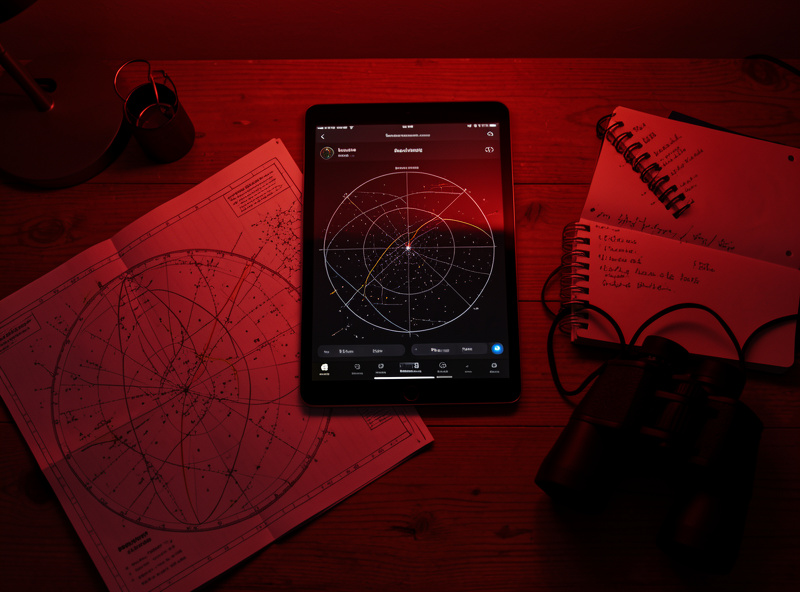
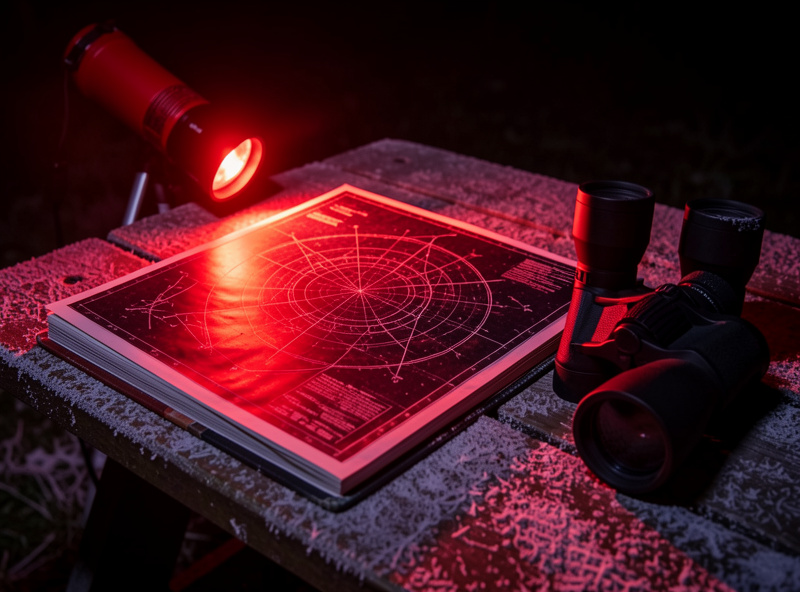
Printed star atlases: the at-the-eyepiece reference
This is the tool beginners skip and experienced observers swear by. At the eyepiece, a phone is a liability: the screen destroys the dark adaptation you spent twenty minutes building, the battery dies in the cold, and the touchscreen stops responding when your fingers are gloved. A printed star atlas under a dim red light solves every one of those problems and never crashes.
The classic visual-observer atlases plot stars down to a useful limiting magnitude with the deep-sky objects marked, so you can star-hop from a bright naked-eye anchor to a faint smudge two fields of view away. There’s a real ladder of them — from a beginner planisphere up to the dense, telescope-field-scale charts serious deep-sky hunters carry — and picking the right rung for your aperture and your sky matters more than buying the most detailed one. A 12-inch Dob user at a dark site and a 6-inch user in the suburbs want different charts.
I keep a printed atlas in the eyepiece case permanently, and I plan on the app indoors then verify the star-hop on paper outside. The two together are the workflow; neither alone is enough. The app gives me the big picture and the timing; the chart gets me the last two degrees to the object in the dark without ruining my night vision.
Weather tools: the go/no-go call
The most expensive mistake in astronomy is driving an hour to a dark site under a sky that the generic weather app called “clear” and arriving to find high cirrus smearing every star into mush. Ordinary forecasts answer the wrong question. They tell you whether you’ll get rained on. We need three other numbers: transparency (how much haze and high cloud is dimming the sky), seeing (how steady the air is, which decides high-magnification planetary detail), and the cloud forecast at your specific hour, not the day’s average.
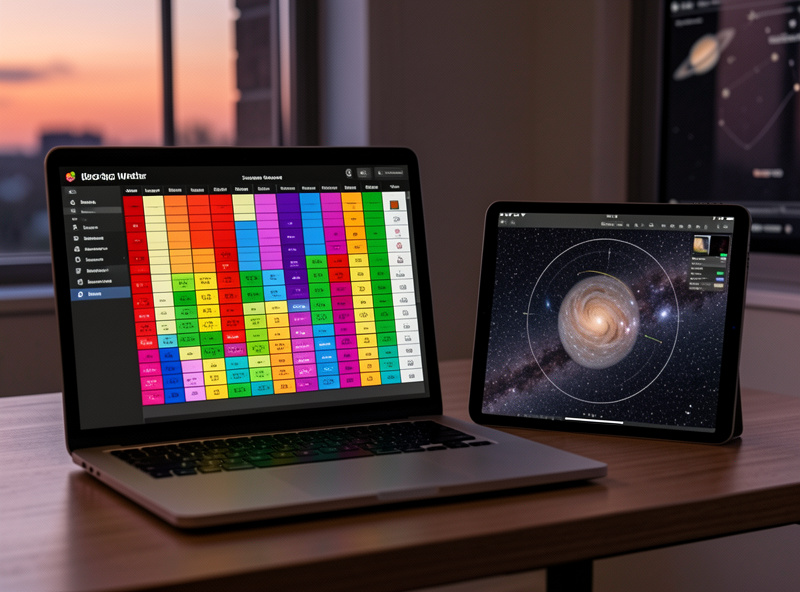
Astronomy-specific weather tools model exactly these. The well-known seeing-forecast charts pull jet-stream and humidity data into a colour-coded grid for your location, hour by hour. Learning to read transparency and seeing as separate things is a genuine skill — a night can have superb transparency for faint galaxies but terrible seeing that ruins planets, or the reverse — and once you can read both, you stop wasting nights and start matching your target list to what the sky will actually deliver.
From a high latitude the weather call is brutal: clear nights are a scarce resource, so when the model says go, you go, even on a work night. I check the astronomy forecast obsessively in the days before a planned dark-site run, and I keep a second, hyper-local cloud radar open for the final hour-of-decision. Field power for a long imaging night is a related planning problem — if you image, you plan the battery power to run the rig and dew heaters all night at the same time you plan the weather.
The observing log: your memory and your progress
The last piece is the cheapest and the one with the longest payoff: write down what you saw. An observing log is not bureaucracy — it is how you turn scattered nights into accumulating skill. When I note that M51’s spiral arms were faintly visible in the 12-inch at the dark site under good transparency, that record means next time I know it’s achievable and what conditions I need. Without the log, every night starts from zero.
A log also catches the thing beginners get wrong constantly: was that smudge real or was it an eyepiece reflection? Recording the conditions, the magnification, and a quick sketch settles it, and over a season the notebook becomes a personalised guide to your own sky. Plenty of observers use a paper notebook; others log on an app that timestamps and geotags entries. Both work. The point is the discipline, not the medium.
Putting the stack together: a real planning workflow
Here’s how the four tools combine into an actual night. The afternoon before, I open the planetarium app, check what’s well-placed for my latitude after dark, and build a target list of maybe eight to twelve objects in the order they’ll be best positioned. I cross-check the astronomy weather model for transparency and seeing at my chosen hour and make the go/no-go call. If it’s go, I print or pull the relevant atlas pages for the targets, pack the eyepiece case, and head out. At the scope I work the list off paper under red light, log each object with conditions and a sketch, and tick them off. Afterward the log feeds the next plan. I walk a full night end to end in my deep-sky observation session plan.
That loop — plan on the app, verify on the atlas, gate on the weather, record in the log — is the whole game. It’s also exactly the kind of system-level thinking that separates observers who steadily get better from ones who own a nice scope and still can’t find anything. The same instinct that makes me dial in a hydroponics nutrient schedule or tune a 3D printer’s first layer is the one that makes a good observing plan: optimise the whole system, not the one shiny part. The most demanding test of that whole stack is a Messier marathon, where the plan is everything.
Comparison: the four planning tools and what each one is for
| Tool | Job it does | When you use it | Free option | Why it’s not optional |
|---|---|---|---|---|
| Planetarium app | Simulates the sky, builds the target list, controls GoTo | Indoors, planning the session | Stellarium (desktop) | Tells you what’s up and when it’s best placed |
| Printed star atlas | At-the-eyepiece star-hopping reference | Outside, at the scope | Free downloadable charts | Survives cold, gloves, and dark adaptation; never crashes |
| Astronomy weather model | Forecasts transparency and seeing, not just rain | Days before, and the final hour | Public seeing-forecast sites | Decides go/no-go; matches targets to conditions |
| Observing log | Records what you saw and under what conditions | During and after the session | Any notebook | Turns scattered nights into accumulating skill |
Matching the plan to your gear and your sky
A planning workflow is not one-size-fits-all, because the right target list depends on what you’re observing with and where. This is the bit generic app tutorials skip, and it’s where the planning layer earns its keep. A planisphere-level plan for a beginner with a small refractor looks nothing like a dark-site plan for a big Dobsonian, and pretending otherwise sets people up to fail.
If you’re observing with binoculars or a grab-and-go scope from the suburbs, plan bright, generous targets — open clusters, the Moon, the brighter doubles — and let the app filter out anything that needs a dark sky to show at all. If you’re carrying real aperture to a dark site, the plan tips toward faint galaxies and nebulae that reward both the sky and the mirror, and the printed atlas you choose needs to plot fainter stars so your star-hops reach them. Knowing your scope’s realistic limits is part of planning: my notes on what a Dobsonian actually delivers and the reflector-vs-refractor trade-offs feed straight into what belongs on the night’s list.
Light pollution is the other half of the gear-and-sky equation, and the planning app cannot see it for you. A target that’s spectacular from Bortle 3 can be invisible from Bortle 7, regardless of what the app draws. Planning around your real sky — and knowing when to drive to a darker one — is a skill, and even small environmental factors matter: I’ve written before about how a single bright outdoor light can wreck a backyard session. The plan has to account for the sky you actually have, not the one the simulator renders in perfect black.
Planning for the patient targets: planets and the Moon
Deep-sky planning is about visibility and darkness; planetary and lunar planning is about timing and steadiness instead. The planning app earns its place here in a different way — it tells you when a planet is highest (and therefore punching through the least atmosphere) and where the Moon is in its phase, which decides both lunar detail and how badly moonlight will wash out your faint targets. A full Moon is the enemy of galaxy hunting and the friend of lunar observing; the plan has to choose one or the other.
For the planets, the seeing forecast matters more than darkness, because planetary detail lives at high magnification where unsteady air ruins everything. I plan planetary nights around the seeing model, not the transparency, and I keep the target low on the list for whenever the air steadies. If you’re working up a planetary or lunar session, my guide to observing the planets and the Moon observation guide pair with this planning layer to turn a vague “let’s look at Jupiter” into a sequence that actually works.
What to fix first if you’re starting out
If you own a scope and you’re frustrated, don’t buy anything optical yet. Download Stellarium tonight, learn to scrub time and pick three well-placed targets, and check whether a free seeing forecast says the next clear night is actually worth setting up for. Add a printed atlas when you start star-hopping faint objects, and start a logbook from your very first session — you’ll wish you had. The whole planning stack costs almost nothing and fixes the most common reason new observers quit: not the gear, but never knowing what to look at or whether the sky will let them.
For the targets themselves, my deep-sky and planetary guides pair naturally with this planning layer. Once you can plan a night, the question becomes what to put on the list — the deep-sky object guide, the best Messier objects to hunt, the best nebulae for amateur telescopes, and the best star clusters to observe are all good target menus to plan around. If you’re still choosing gear, start with the telescope buying guide and the beginner’s guide to stargazing.
Frequently Asked Questions
What is the best free astronomy planning app?
Stellarium on the desktop is the best free planetarium for planning — it renders your exact sky, lets you scrub time to find when objects are best placed, and costs nothing. For phones, the free augmented-reality apps are great for learning constellations and identifying bright objects.
Do I really need a printed star atlas if I have an app?
For serious visual observing, yes. A phone screen destroys your dark adaptation, freezes in cold weather, and is hard to use with gloves. A printed atlas under red light survives all three and never crashes, so experienced observers plan on the app indoors and star-hop on paper at the eyepiece.
What weather information do astronomers actually need?
Three things ordinary forecasts ignore: transparency (haze and high cloud dimming the sky), seeing (how steady the air is, which decides planetary detail), and hour-by-hour cloud for your exact location. Astronomy-specific weather models forecast all three; a generic app only tells you about rain.
Is an observing log worth the effort?
Yes, and it is the cheapest upgrade in the hobby. A log records what you saw under what conditions, so you know an object is achievable and what sky you need to repeat it. It also settles whether a faint smudge was real or an eyepiece reflection.
Can a planning app control my telescope?
Yes. Apps like SkySafari can connect to a GoTo mount over WiFi or cable and slew the scope to any object you tap. You still need the mount aligned first, and learning the sky by star-hopping before relying on GoTo makes you a far more capable observer.
How does living at a high latitude change planning?
A lot. Near the summer solstice high northern latitudes get no true astronomical darkness for weeks, so the planning app’s geometry has to be filtered through twilight and low-altitude haze. Many targets US reviewers recommend never rise high enough to observe well from a Nordic site.