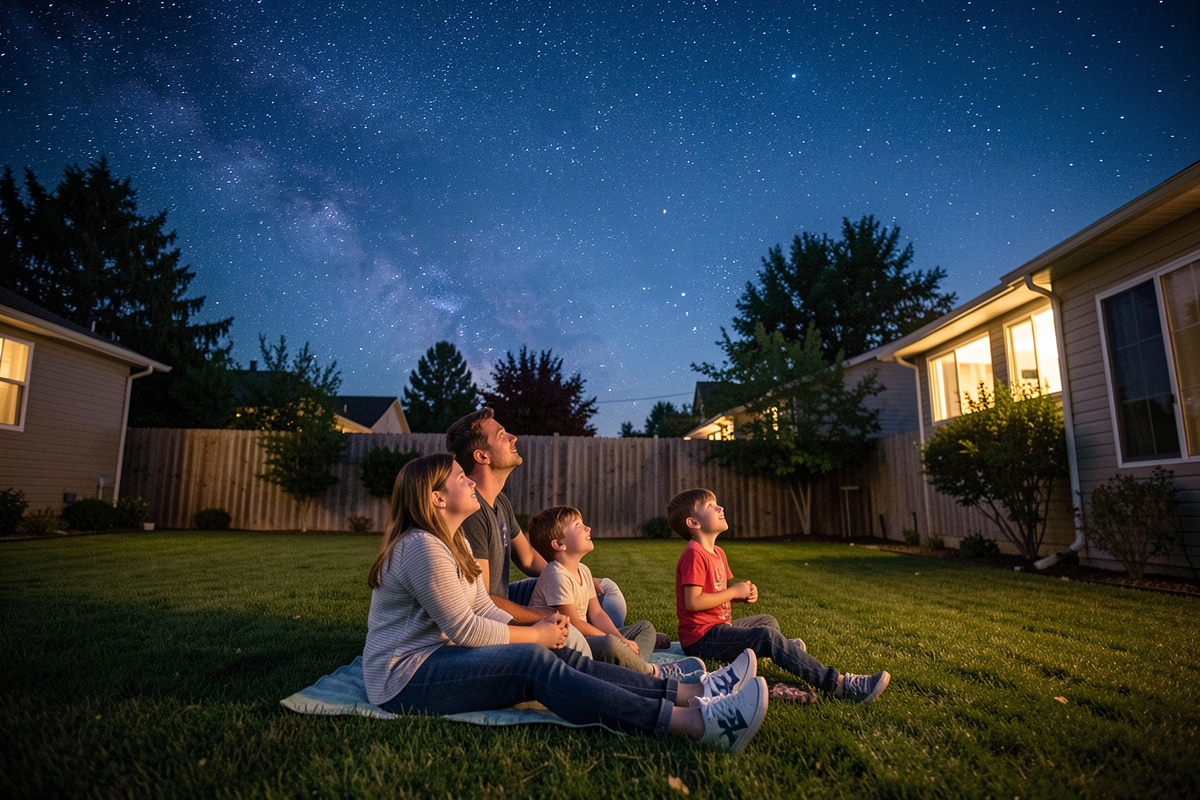
The best way to start stargazing with kids is to forget the telescope for the first few weeks and just look up together. Begin with the Moon and the brightest planets using nothing but your eyes and a free star-map app, keep the first sessions to 20-30 minutes and warm, and let the child do the finding. Build the habit first; the gear comes later and means far more once it does.
I’ve watched the no-telescope start work over and over. A child who already knows where the Moon is, can pick out Jupiter, and has traced a constellation or two gets vastly more from their first scope than one handed an instrument cold. Stargazing with kids is really about patience, comfort, and managing expectations — not equipment. This is the on-the-ground companion to my broader astronomy for kids family guide, focused on the very first nights.
Start With Your Eyes, Not a Telescope
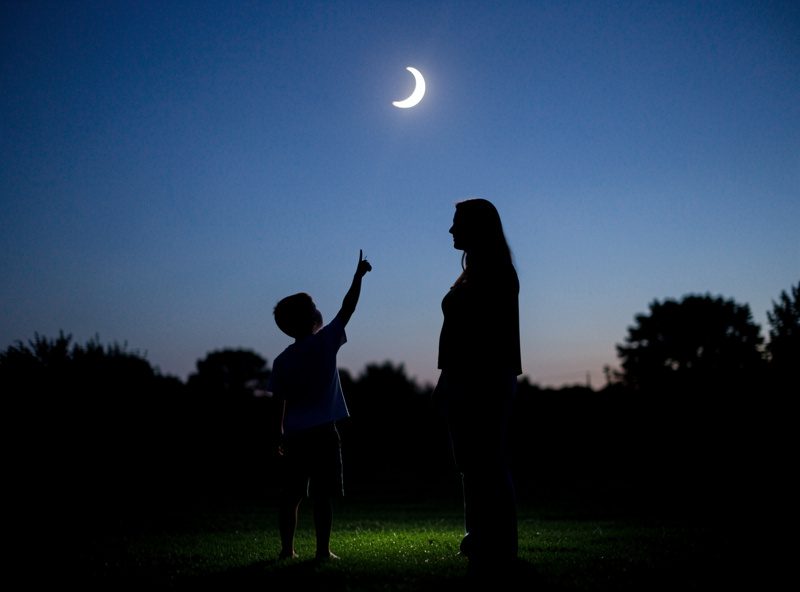
The first few stargazing sessions should use no equipment at all. The naked eye is the perfect beginner instrument: there’s nothing to break, nothing to aim, and a child can take in the whole sky at once. The single skill this builds — knowing where things are and how the sky moves — is the foundation every telescope night later depends on.
Spend those first nights learning the obvious landmarks together. Find the Moon and notice that it changes shape night to night. Spot the brightest “stars” that don’t twinkle — those are usually planets like Jupiter, Venus, or Saturn. Trace one easy constellation, like the Big Dipper, and use it to find the next one. A free star-map app held up to the sky names everything in real time and turns a confusing sprinkle of dots into a map a child can read. This costs nothing and is genuinely the most important stage, because a kid who can already find things will love a telescope, while one who can’t will be lost behind the eyepiece. My complete beginner’s guide to stargazing goes deeper on learning the sky, and the apps I actually use are in my stargazing apps guide.
Then Add Binoculars — Before a Telescope
When the child is ready for more, the next step is a pair of 10×50 binoculars, not a telescope. Binoculars are cheaper, far easier for a child to aim than a scope, nearly indestructible, and they reveal craters on the Moon, the four bright moons of Jupiter, dense star clusters, and the dusty band of the Milky Way. They stay useful forever, even after you buy a scope.
The reason binoculars beat a first telescope for kids comes down to aiming. A telescope shows a tiny patch of sky, often upside-down, and getting a target into that patch is hard for a beginner. Binoculars show a wide, right-way-up view a child can point as easily as their own gaze, so success comes fast and frustration stays low. The honest trade-off is magnification — you won’t see Saturn’s rings split through handheld binoculars — but for learning the sky and keeping a child hooked, they’re unbeatable. I make the full case in binoculars vs telescope for beginners and recommend specific pairs in best binoculars for astronomy. When you do reach the telescope stage, my best telescope for kids guide picks the right one.
Manage Expectations Before Every Session
The fastest way to lose a child at the eyepiece is to oversell the view. Tell them honestly, before you start, what they’ll actually see: the Moon is jaw-dropping, Saturn’s rings are real but small, Jupiter shows a couple of stripes and four tiny moons, and the galaxies from the books look like faint grey smudges from a backyard. Honesty turns letdown into discovery.
The Moon is your reliable winner — aim there first, every single time. Even with binoculars it shows craters and mountain ranges, and through a small scope the detail along the shadow line is genuinely stunning. After the Moon, Jupiter’s moons are a brilliant hook because they visibly shift from night to night, so a child can predict and then confirm a change, which feels like real science. What you steer them away from at first is faint deep-sky; a smudge is a hard sell to a young child, and it’s also a light-pollution problem more than a telescope one. I cover what the bright targets really look like in my Moon observation guide and Jupiter through a telescope.
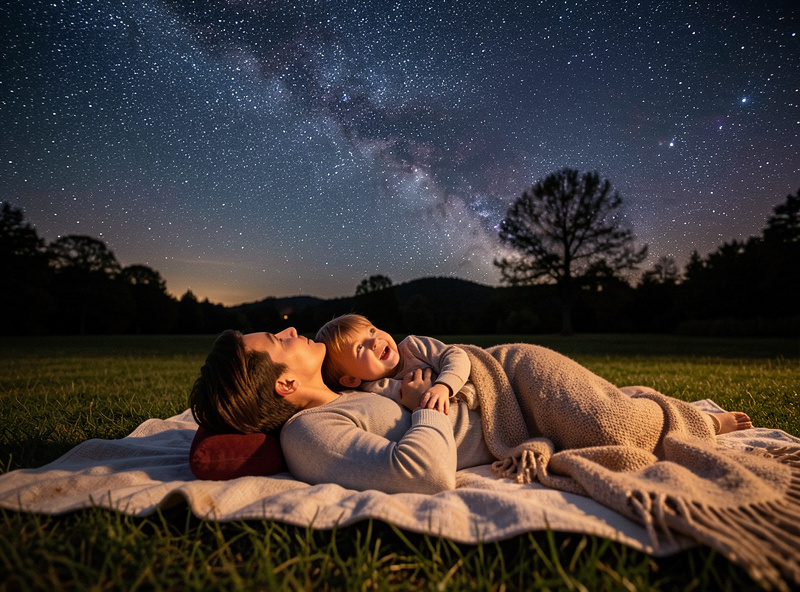
Keep Kids Warm, Comfortable, and Wanting More
Session craft matters more than any piece of gear. Keep early sessions short — 20 to 30 minutes — dress the child warmer than feels necessary, and always stop while they still want more. A cold, dragging, hour-long session teaches a child that astronomy is uncomfortable, which is the exact opposite of the hook you’re trying to set.
Children stand still at a scope and chill far faster than an adult moving around, so cold is the number-one session-killer — extra layers, a hat, and a thermos of something warm do more for the night than any equipment. Use a red flashlight rather than a phone screen, because dark-adapted eyes take about twenty minutes to build and a flash of white light wipes that out in an instant; a clip-on red headlamp costs a few dollars and protects the whole night. Let the child do the aiming as soon as they’re able — ownership is what turns passive watching into active observing. And end on a high: finish on the Moon or a favourite planet so the lasting memory is wonder, not boredom.
Pick the Right Night and Place
Where and when you observe shapes a child’s experience as much as what you point at. You don’t need a dark wilderness sky for the Moon and planets — your own backyard is fine — but you do need to time it around the Moon and the weather, and to understand that faint targets simply require darker skies than a suburb provides.
For lunar viewing, the days around first quarter are best, when low-angle sunlight throws long shadows across the craters and the detail is at its richest; a full Moon, counterintuitively, is flat and glary. For everything else, a clear, steady night away from a bright full Moon helps. From a typical suburban sky you’ll get the Moon, planets, double stars, and the brighter clusters reliably, which is plenty for kids. The galaxies and nebulae need a drive to a darker site — my dark-sky locations guide helps you find one, and if your own yard is washed out by a neighbour’s security or coop lighting, the small fixes in my piece on coop light pollution genuinely help. Living at a northern latitude shifts the calendar too: up here, winter’s long dark afternoons let kids observe before bedtime, while high-summer nights never get properly dark at all.
Frequently Asked Questions
What age is best to start stargazing with kids?
Any age works for naked-eye stargazing — even a four-year-old can enjoy spotting the Moon and the brightest planets. Binoculars suit children around six and up, and a simple telescope makes sense from about seven or eight, once a child has learned to find things in the sky on their own.
Do I need a telescope to stargaze with my child?
No, and it is better not to start with one. The first weeks should use just your eyes and a free star-map app to learn the Moon, the bright planets, and a couple of constellations. Binoculars are the ideal next step, and a telescope only earns its place once a child can find targets themselves.
What can kids actually see in the night sky?
With the naked eye: the Moon’s phases, bright planets, constellations, and meteors. With binoculars: lunar craters, Jupiter’s four moons, star clusters, and the Milky Way. The Moon and bright planets are the reliable winners; faint galaxies and nebulae need a dark site and are a hard sell at first.
How do I keep my child from getting bored stargazing?
Keep sessions to 20-30 minutes, dress them warmer than you think, start on the Moon, let them do the aiming, and stop while they still want more. Set honest expectations beforehand so the views delight rather than disappoint, and use a red flashlight to protect their night vision.
What is the best first thing to look at with kids?
The Moon, every time. It is bright, easy to find, and spectacular even in binoculars or a small scope, showing craters and mountain ranges along the shadow line. Aim there first to guarantee a wow moment, ideally a few days around first quarter when the shadows are longest.
Related Guides
- Astronomy for Kids: Family Guide — the full path from first looks to a first scope
- Best Telescope for Kids 2026 — when you’re ready to buy
- Simple Astronomy Projects for Kids — keep them hooked on cloudy nights
- Binoculars vs Telescope for Beginners — the right first instrument
- Star Party Guide for Families — make a night of it with others